My Extra Hands, St. George Handyman Services
ProjectsBlogReviewsContactAbout Us
Call us
Call us
  1. Home
  2. Projects
  3. Art First, Holes Second - How a Gallery Wall Actually Gets Done Right
Art First, Holes Second - How a Gallery Wall Actually Gets Done Right
Art First, Holes Second - How a Gallery Wall Actually Gets Done Right image
Gallery photos for Art First, Holes Second - How a Gallery Wall Actually Gets Done Right: Image #1Gallery photos for Art First, Holes Second - How a Gallery Wall Actually Gets Done Right: Image #2Gallery photos for Art First, Holes Second - How a Gallery Wall Actually Gets Done Right: Image #3Gallery photos for Art First, Holes Second - How a Gallery Wall Actually Gets Done Right: Image #4Gallery photos for Art First, Holes Second - How a Gallery Wall Actually Gets Done Right: Image #5Gallery photos for Art First, Holes Second - How a Gallery Wall Actually Gets Done Right: Image #6Gallery photos for Art First, Holes Second - How a Gallery Wall Actually Gets Done Right: Image #7Gallery photos for Art First, Holes Second - How a Gallery Wall Actually Gets Done Right: Image #8Gallery photos for Art First, Holes Second - How a Gallery Wall Actually Gets Done Right: Image #9Gallery photos for Art First, Holes Second - How a Gallery Wall Actually Gets Done Right: Image #10

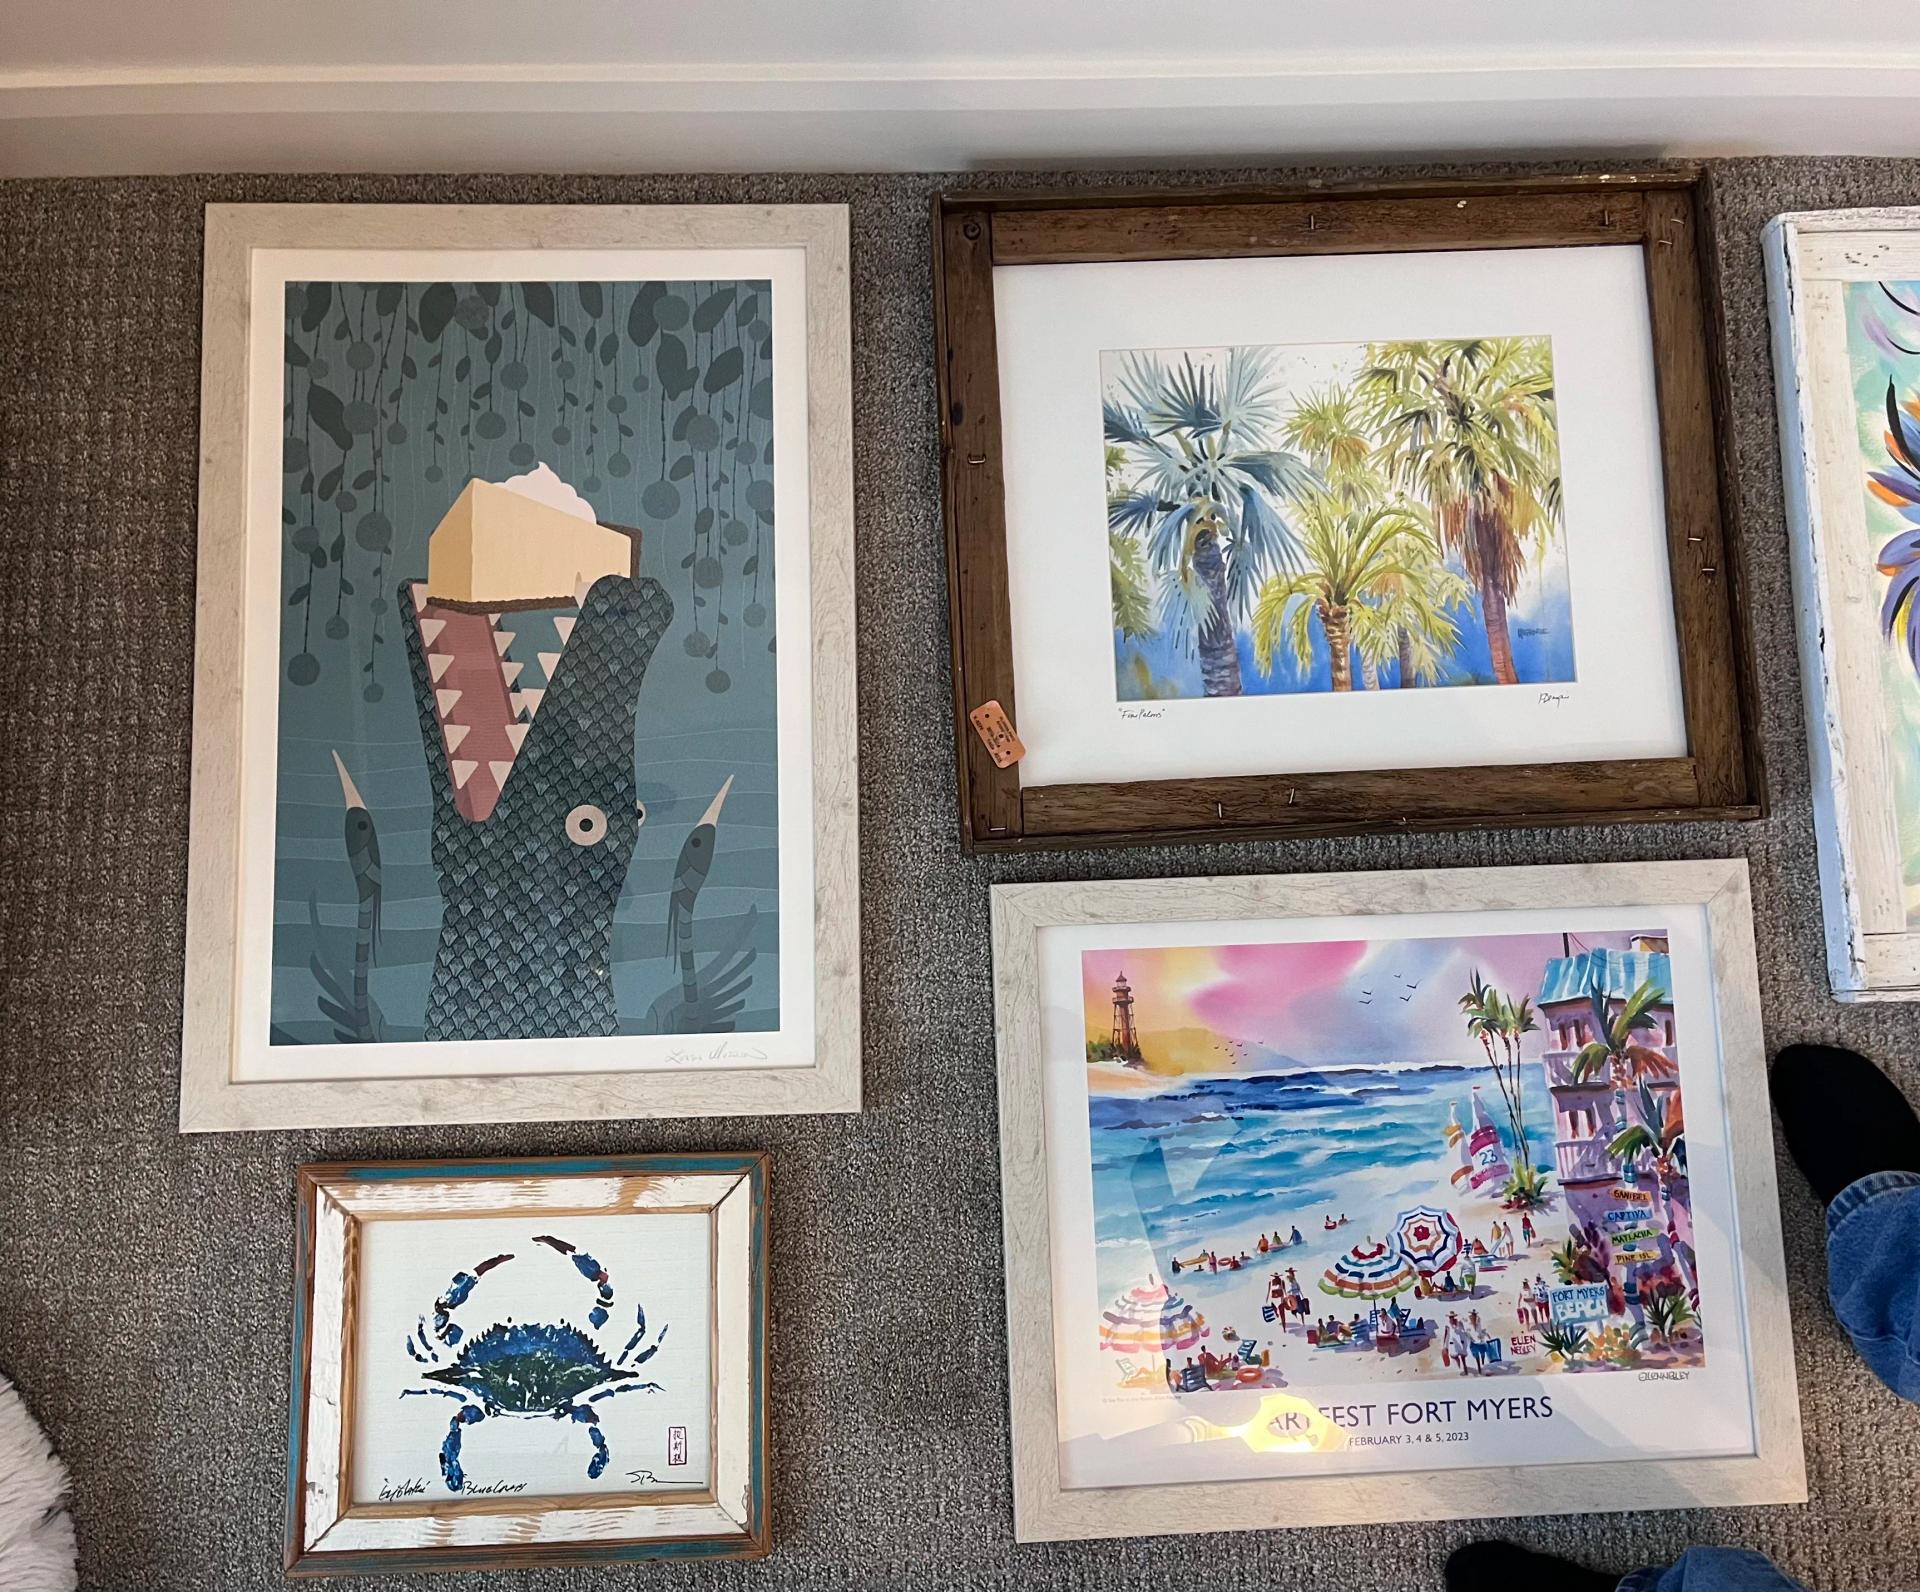
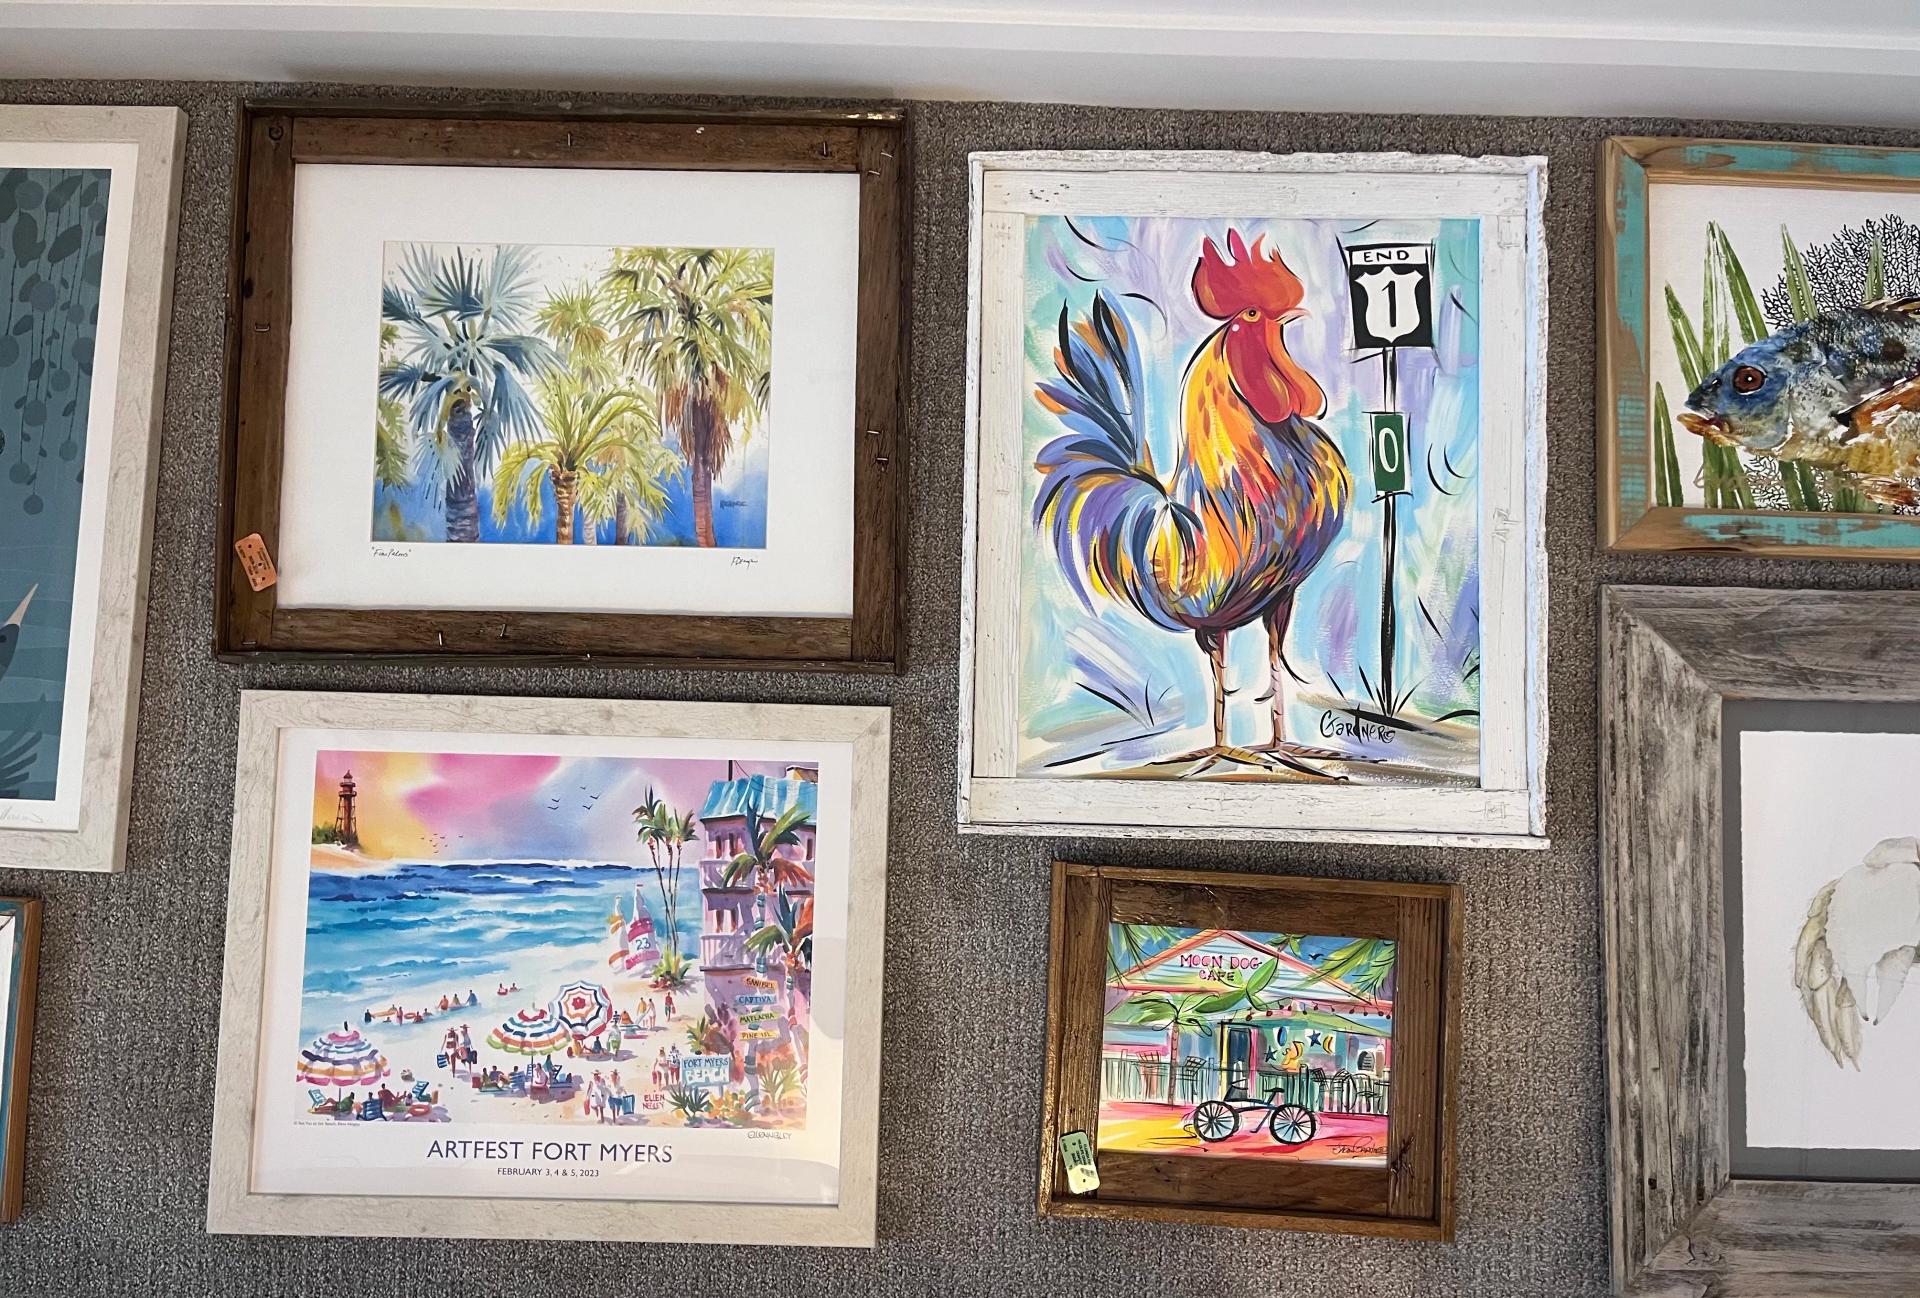
Most people skip the most important step when hanging art - they go straight to the wall. That usually means extra holes, crooked frames, and a layout that just feels off. We do it differently. Before anything goes up, everything comes down to the floor first.

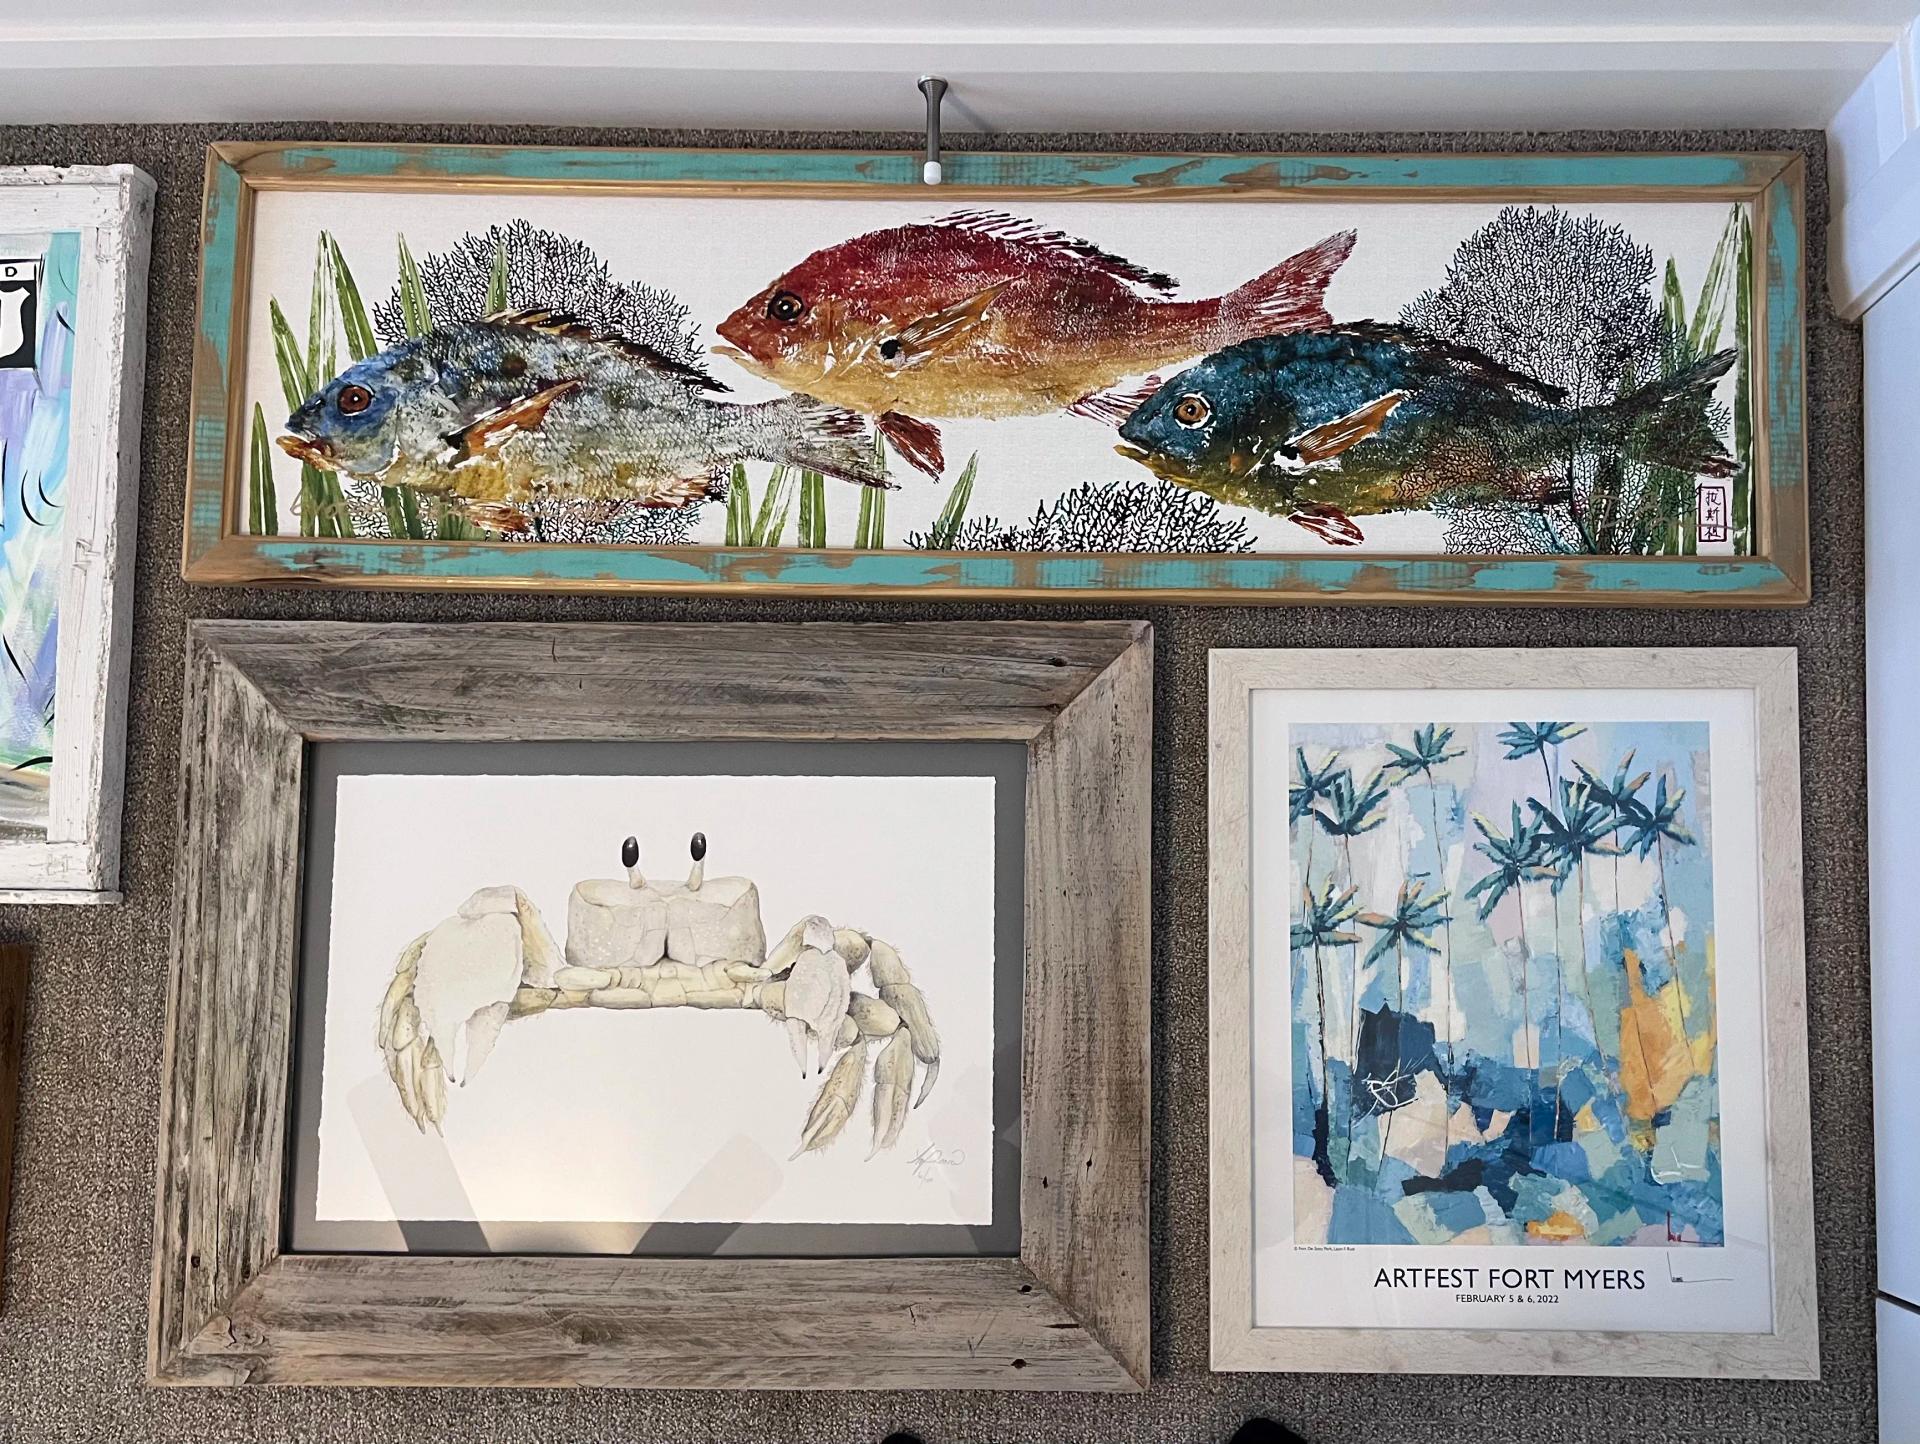
Laying pieces out flat lets us work through spacing, groupings, and flow without committing to a single nail. It sounds simple, but it makes a huge difference - especially when you're dealing with a mix of frame sizes, shapes, and weights all going on the same wall. Getting that balance right before touching the wall is what separates a finished gallery wall from a guessing game.

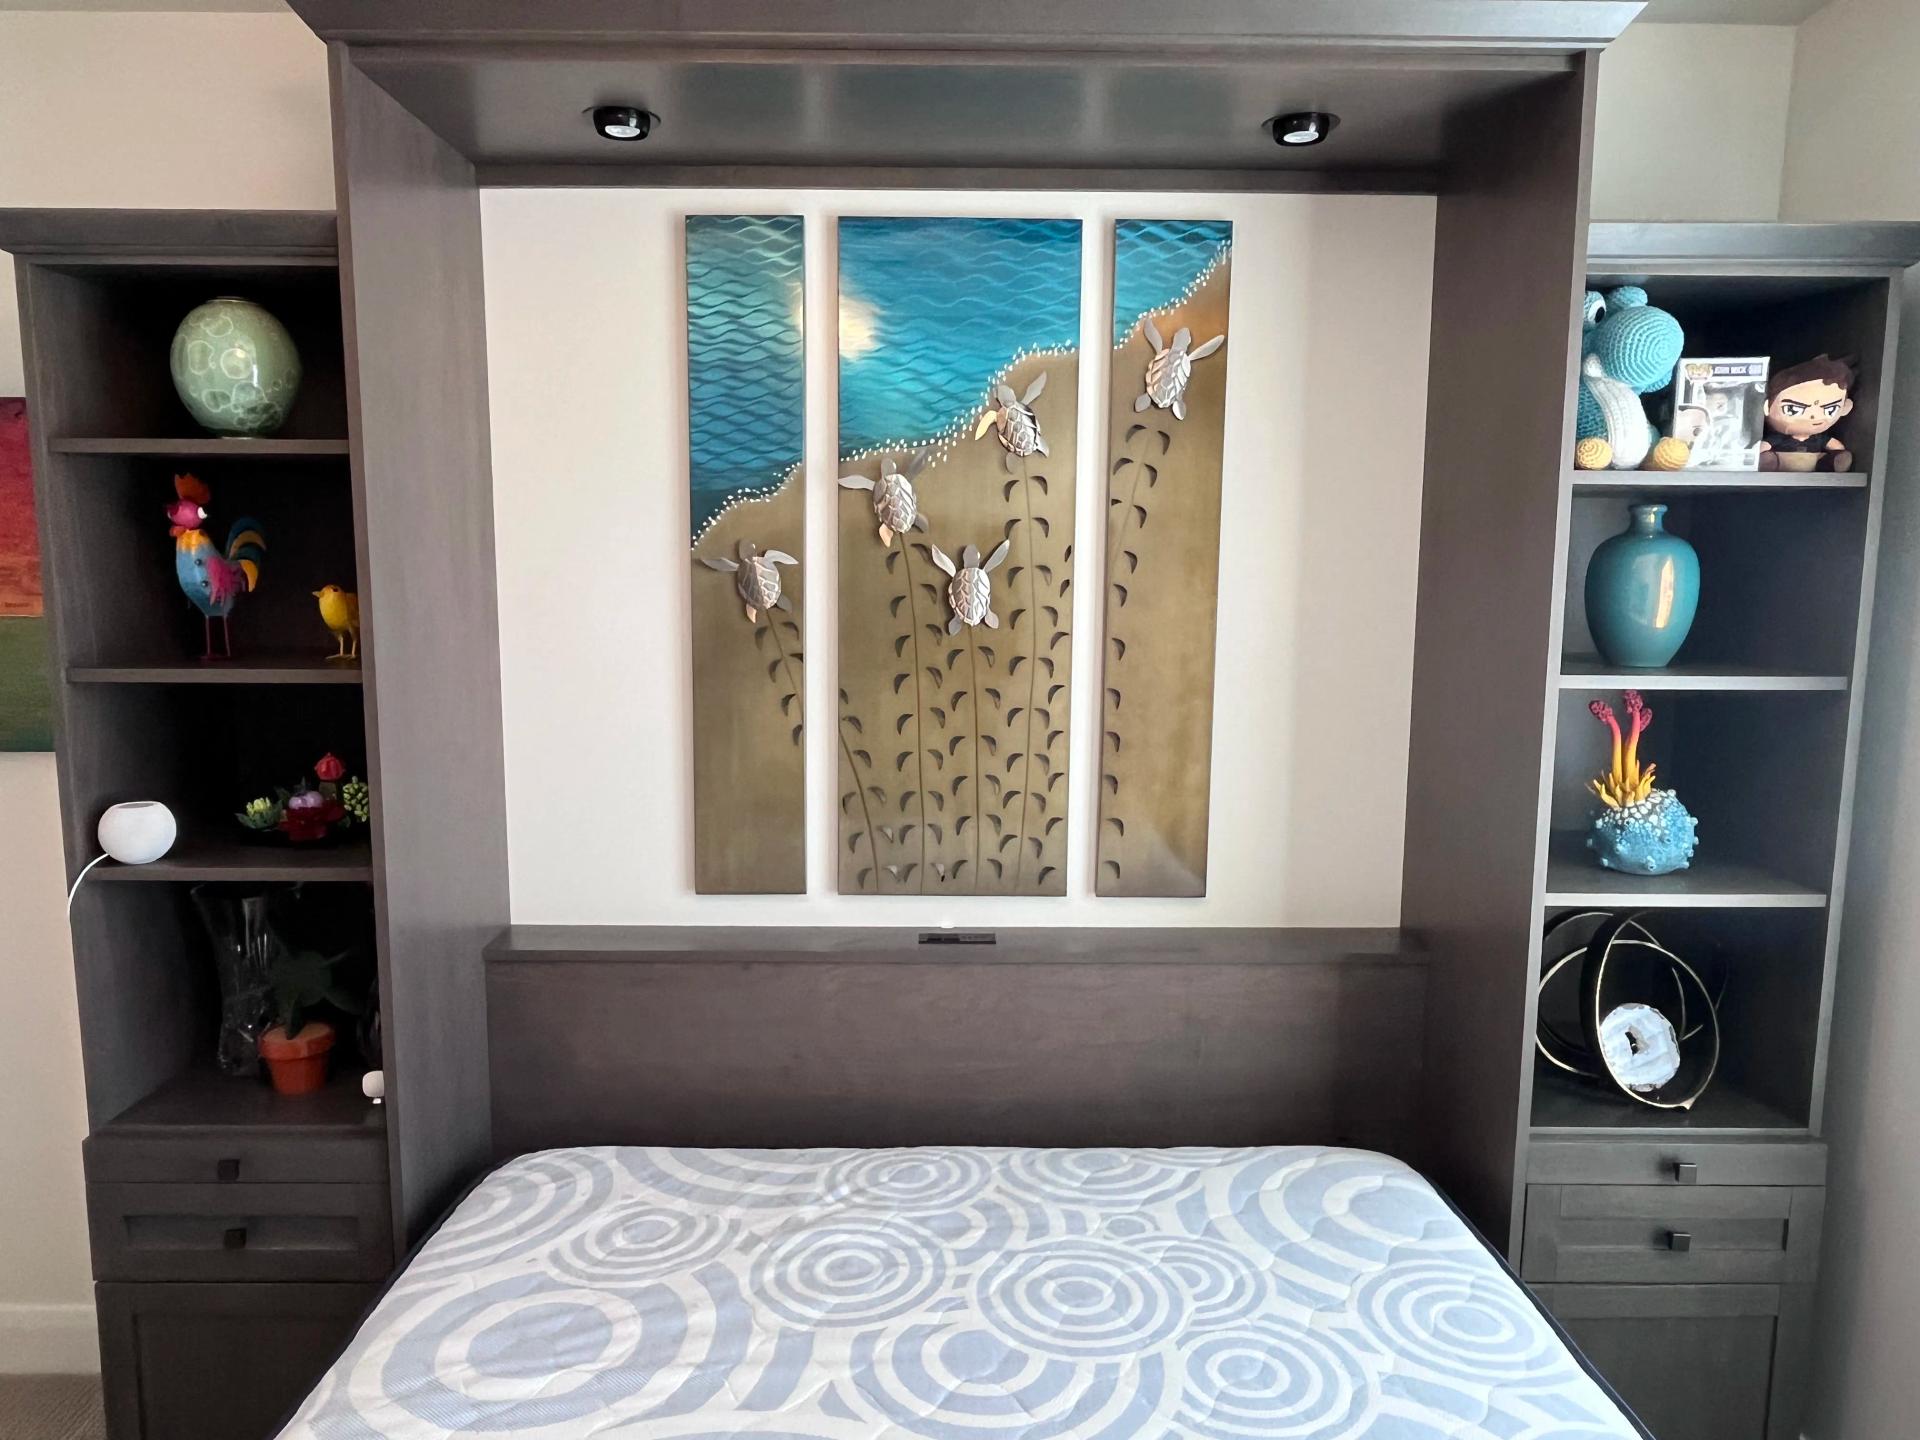
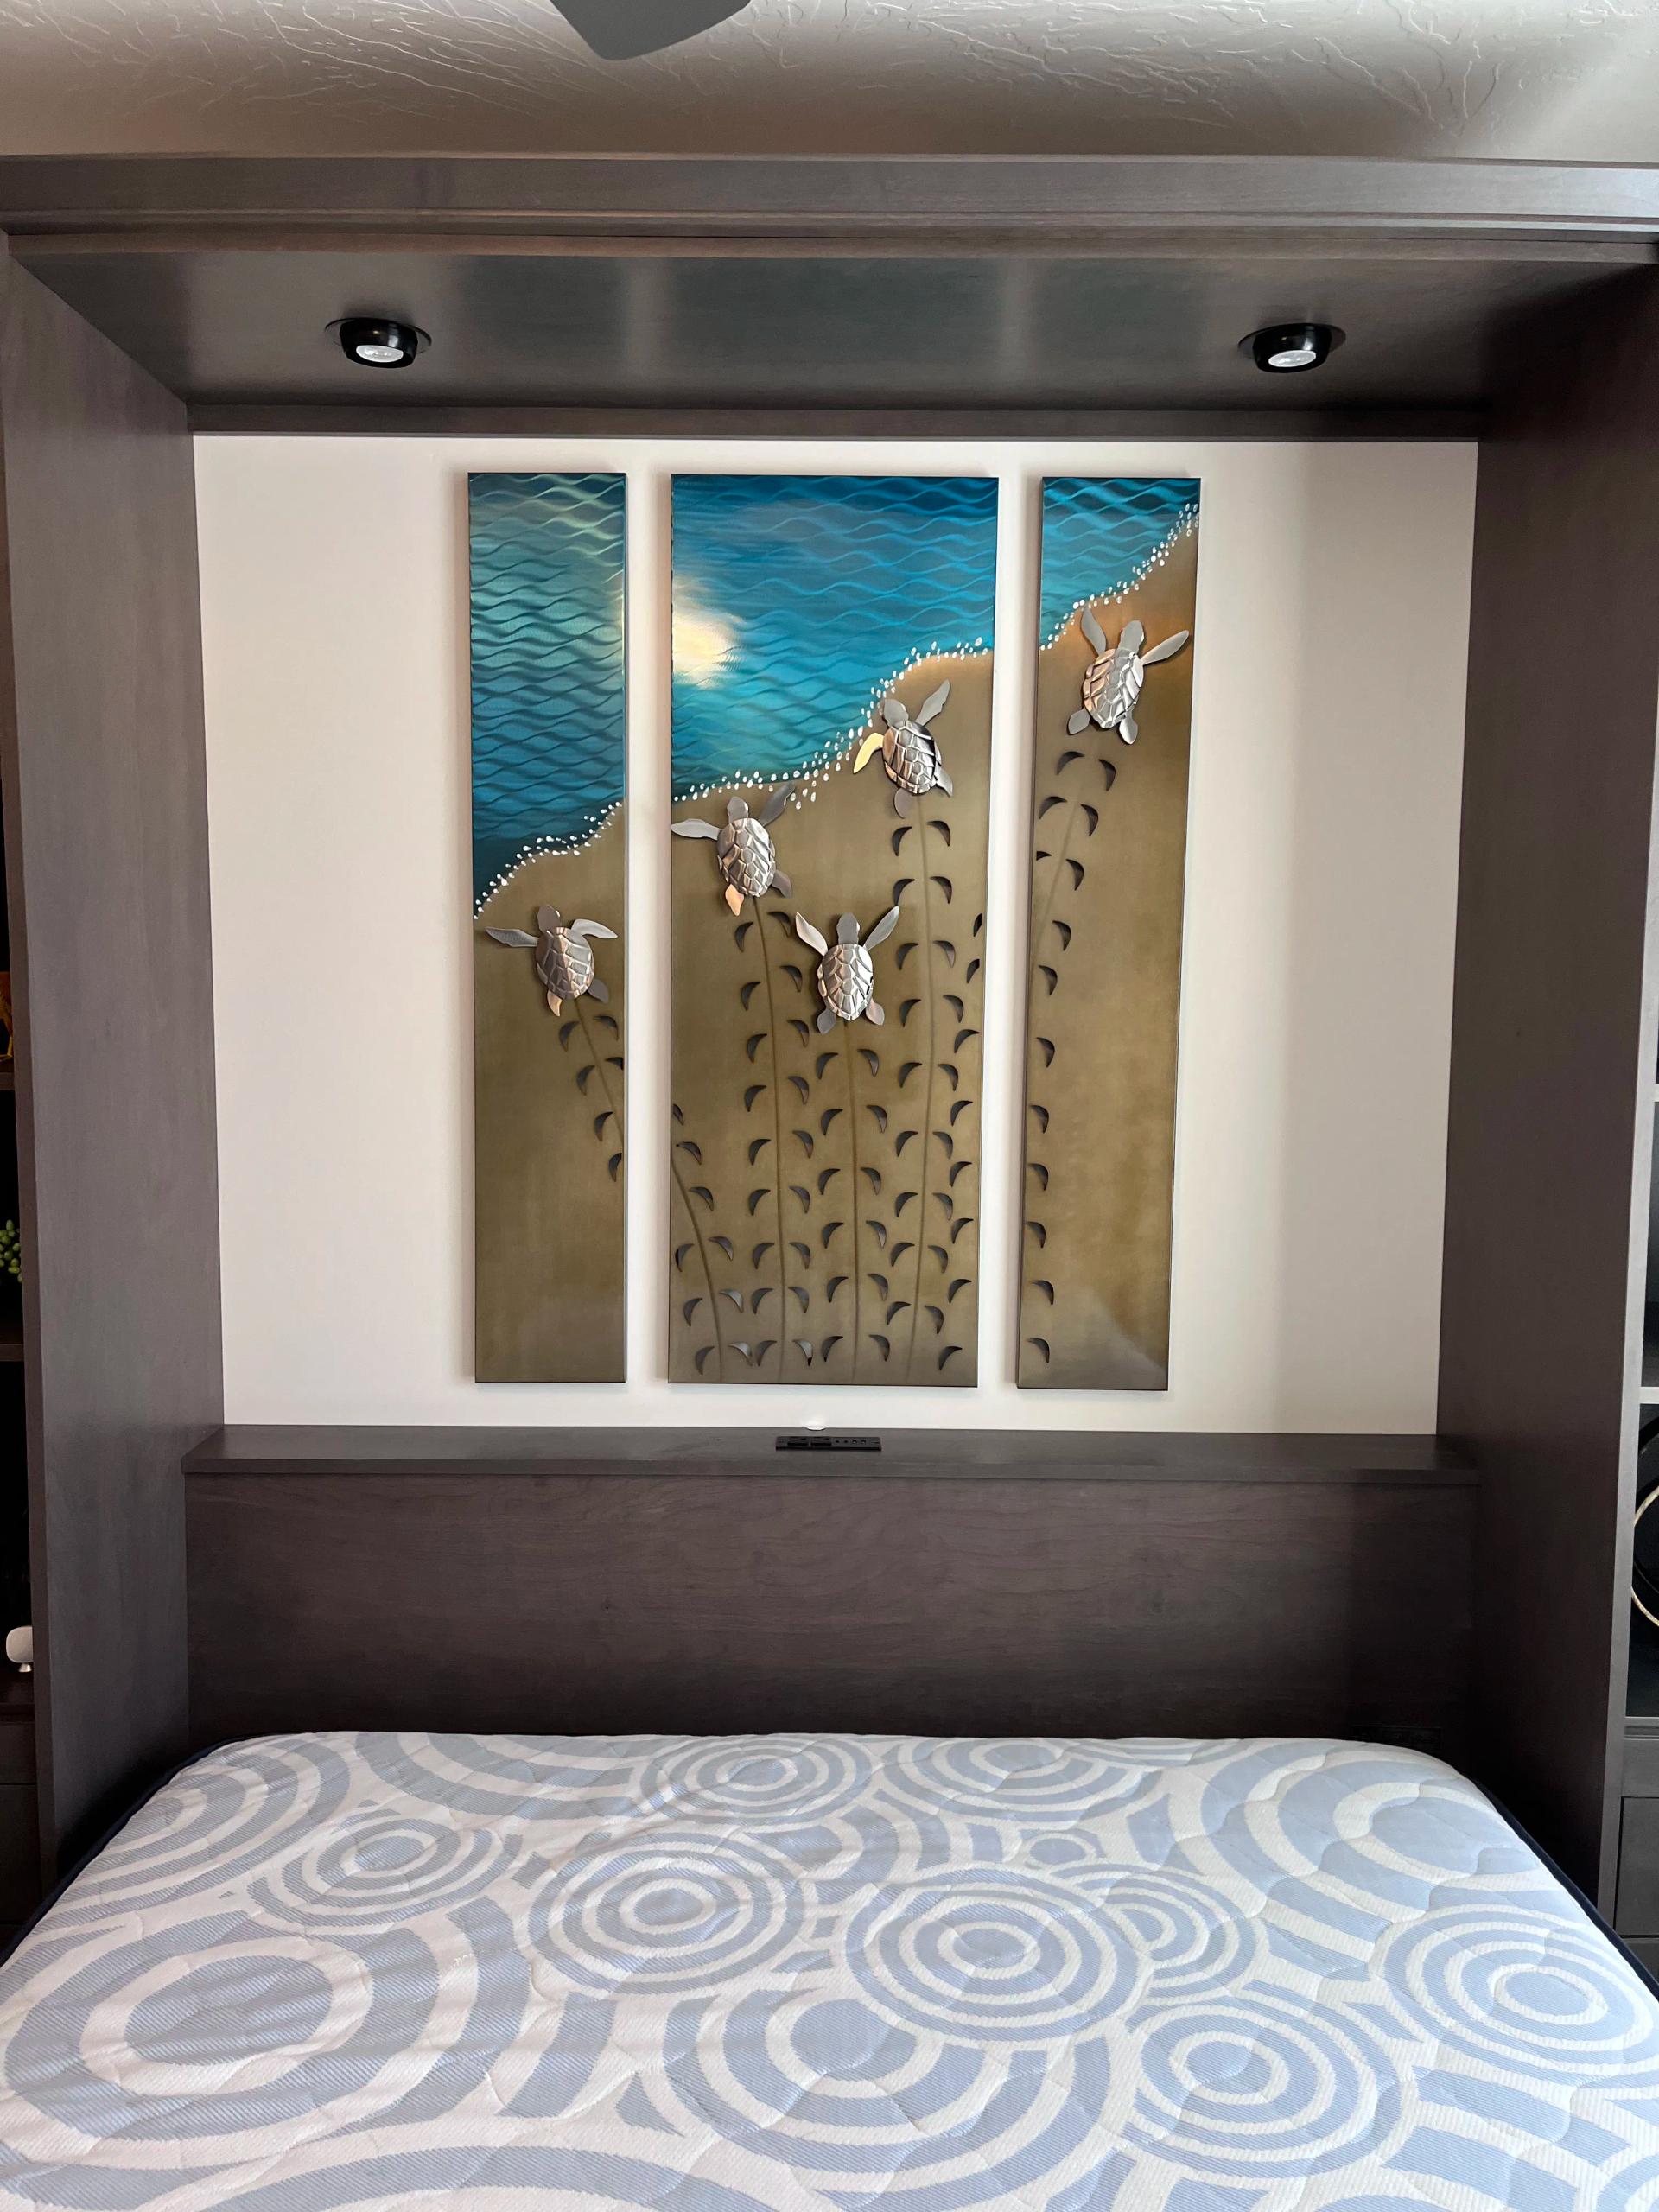
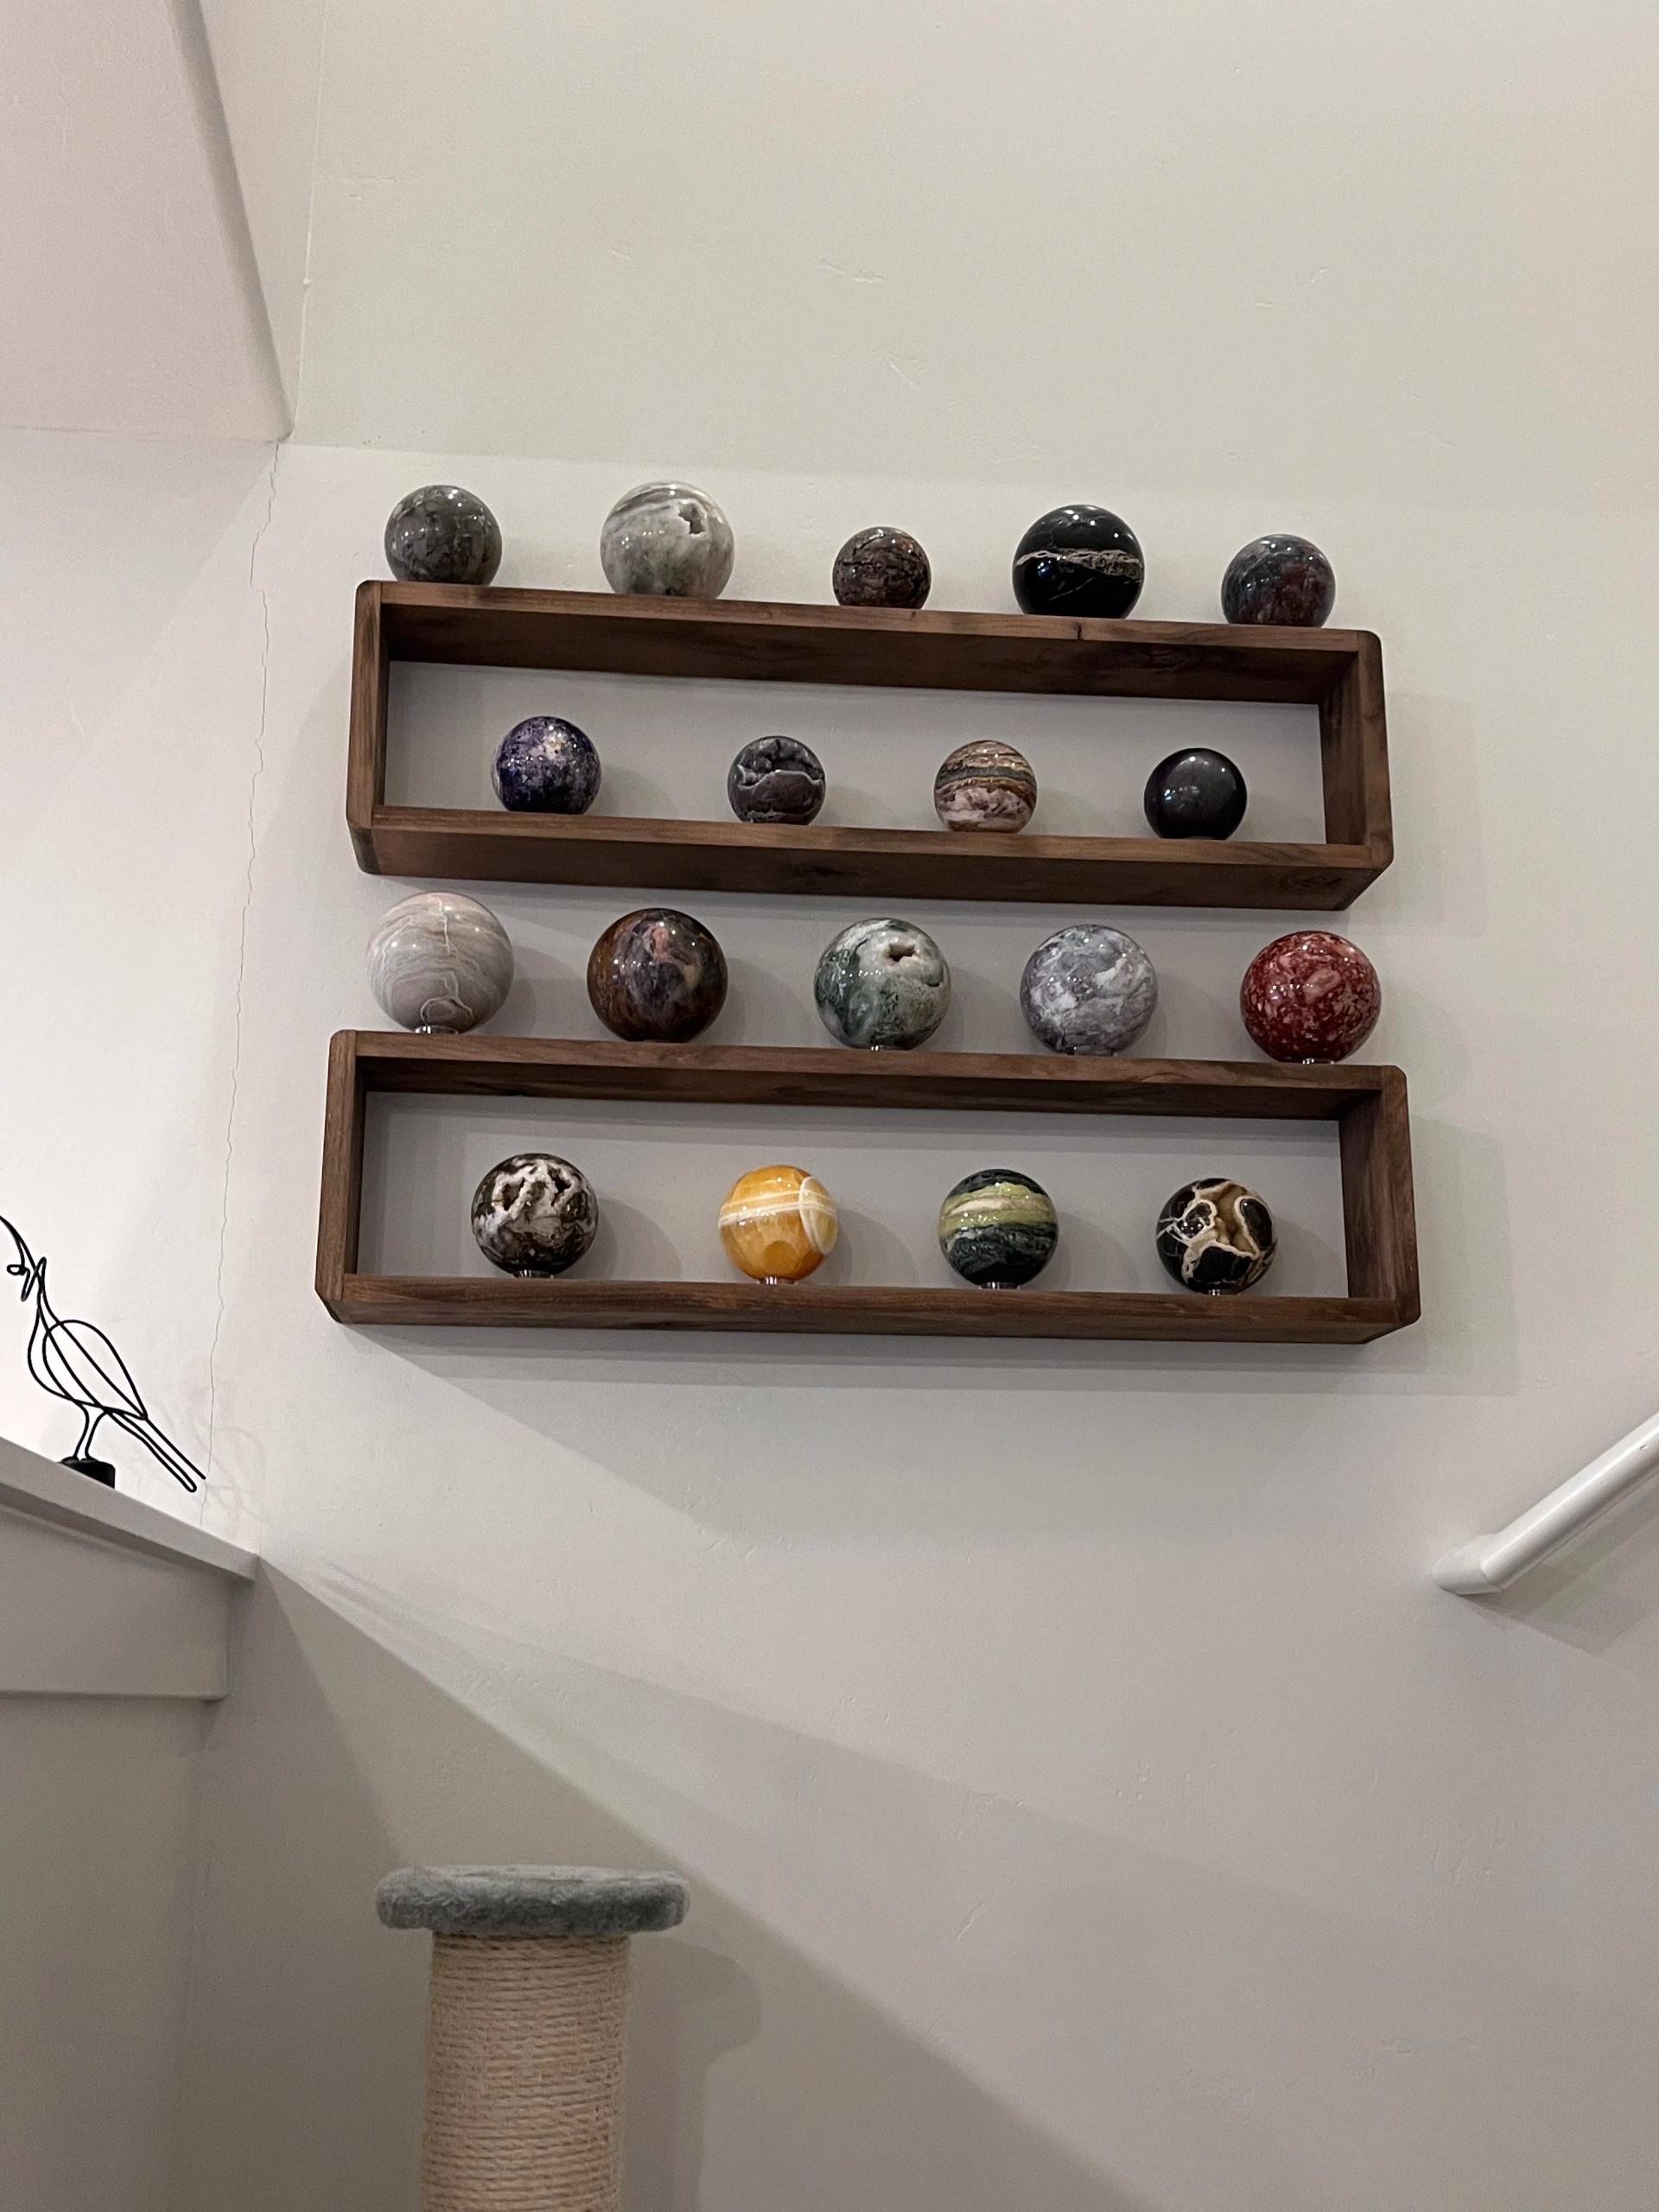
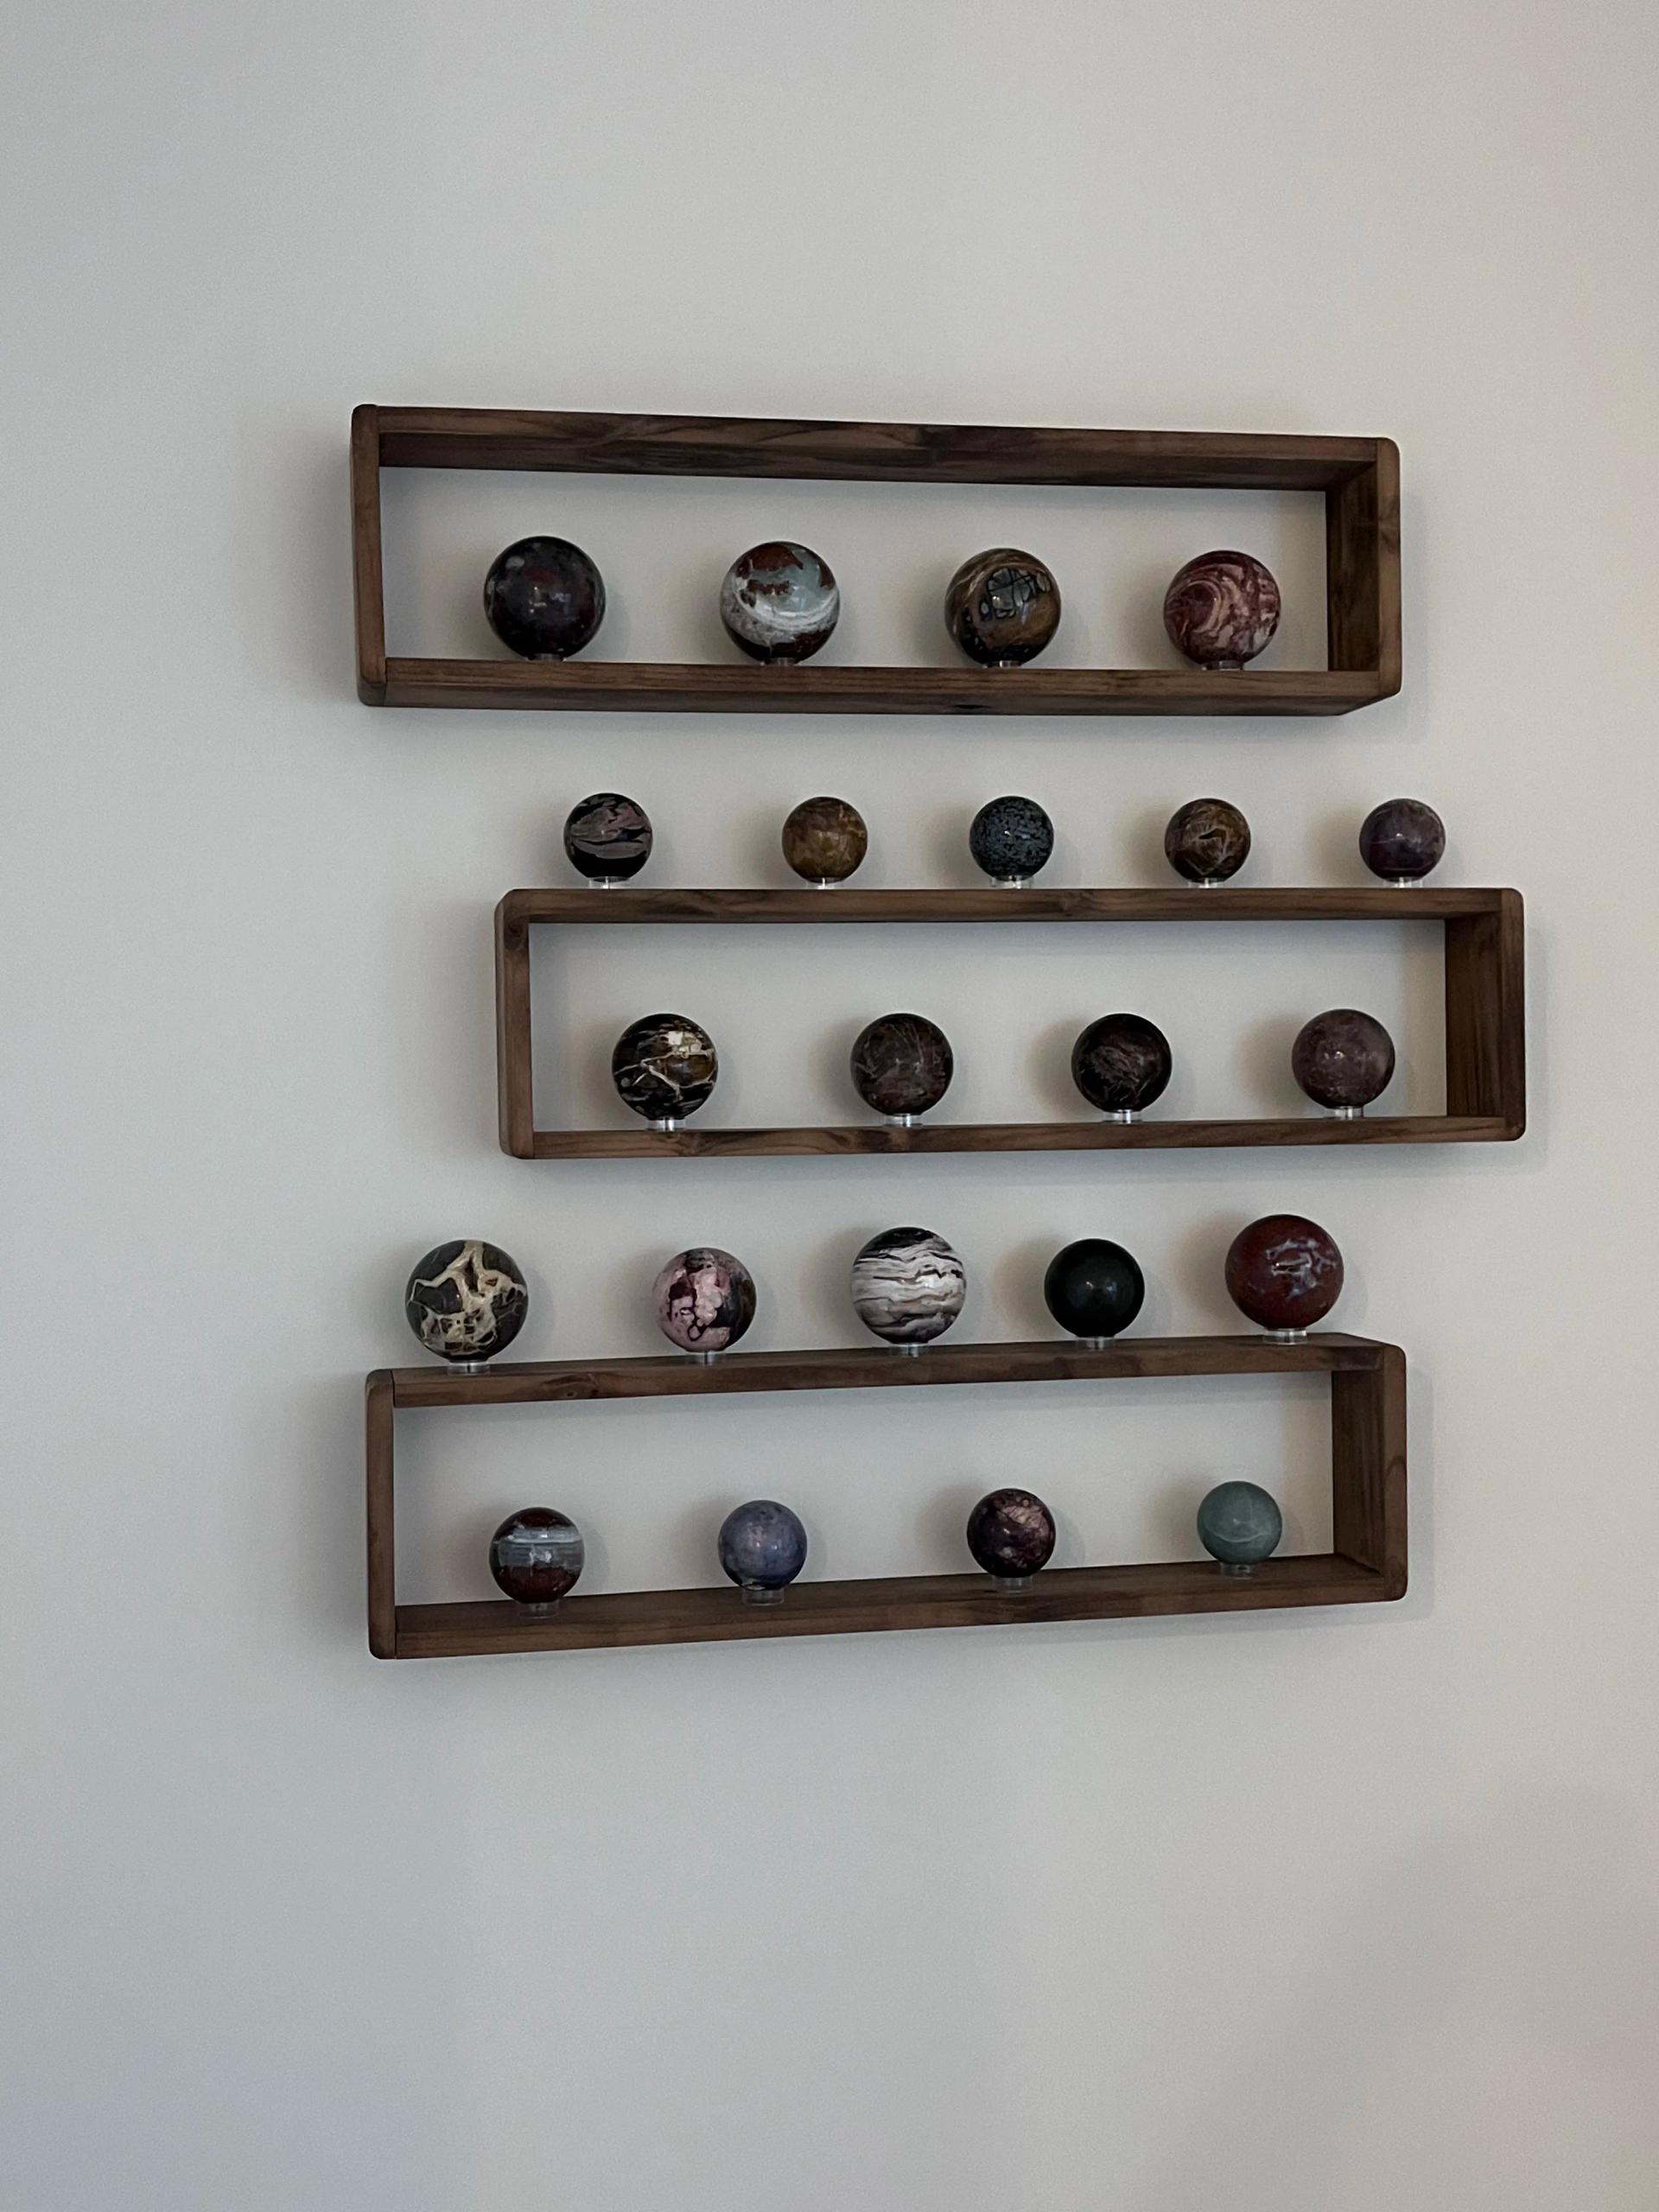
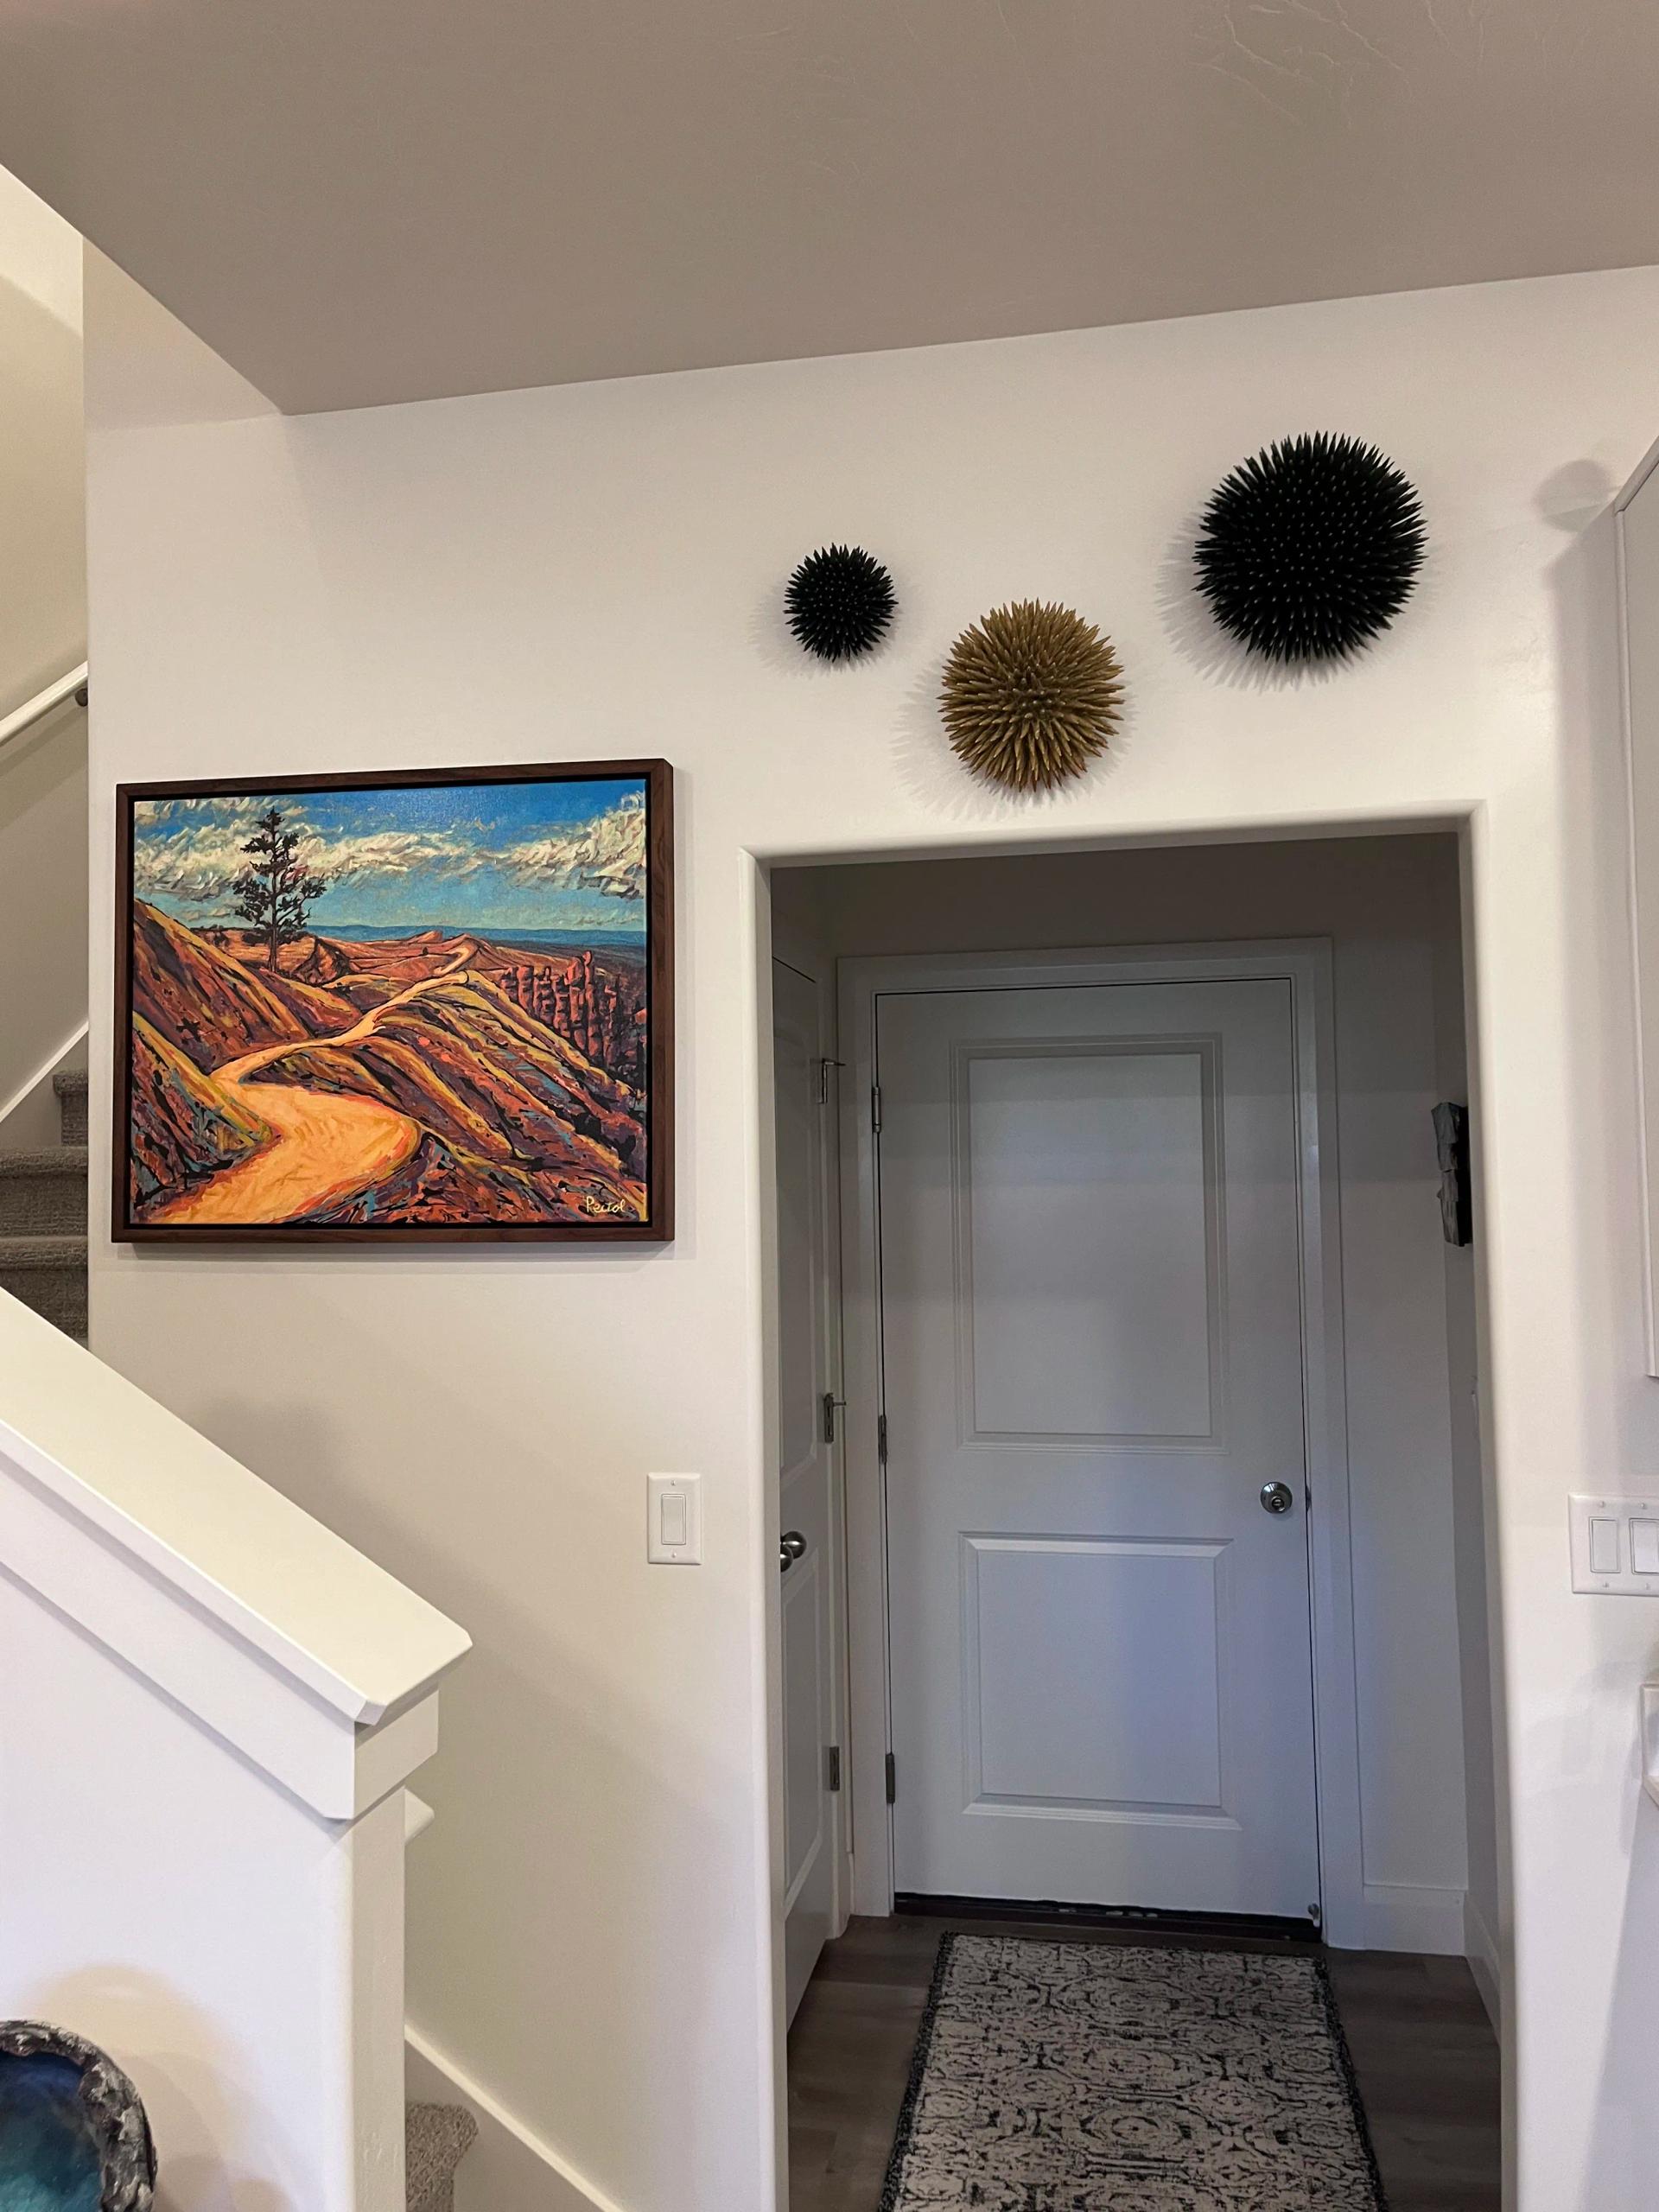
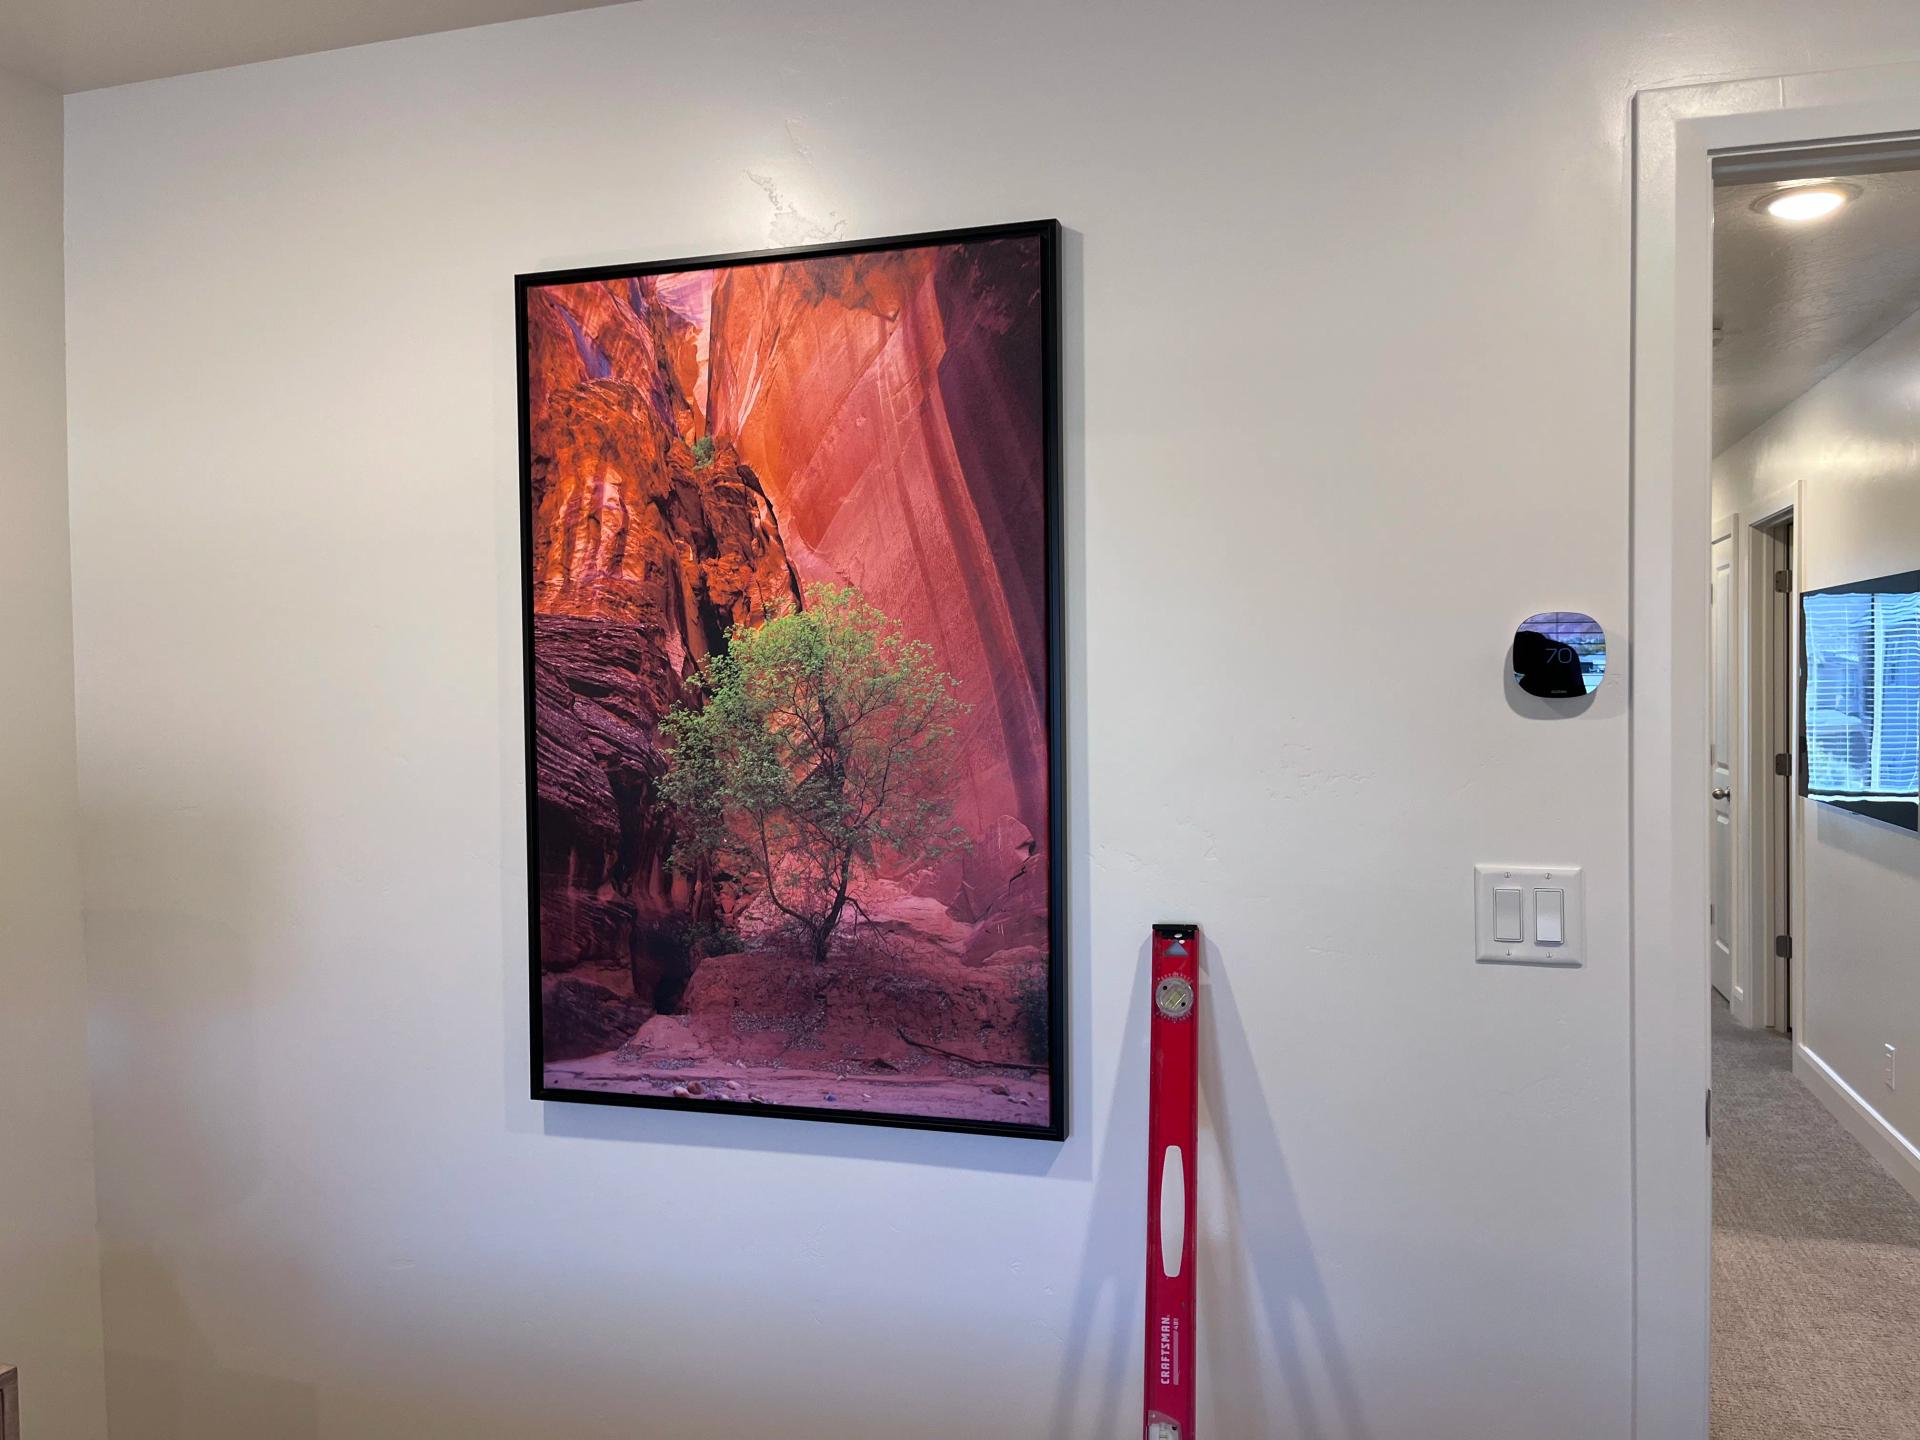
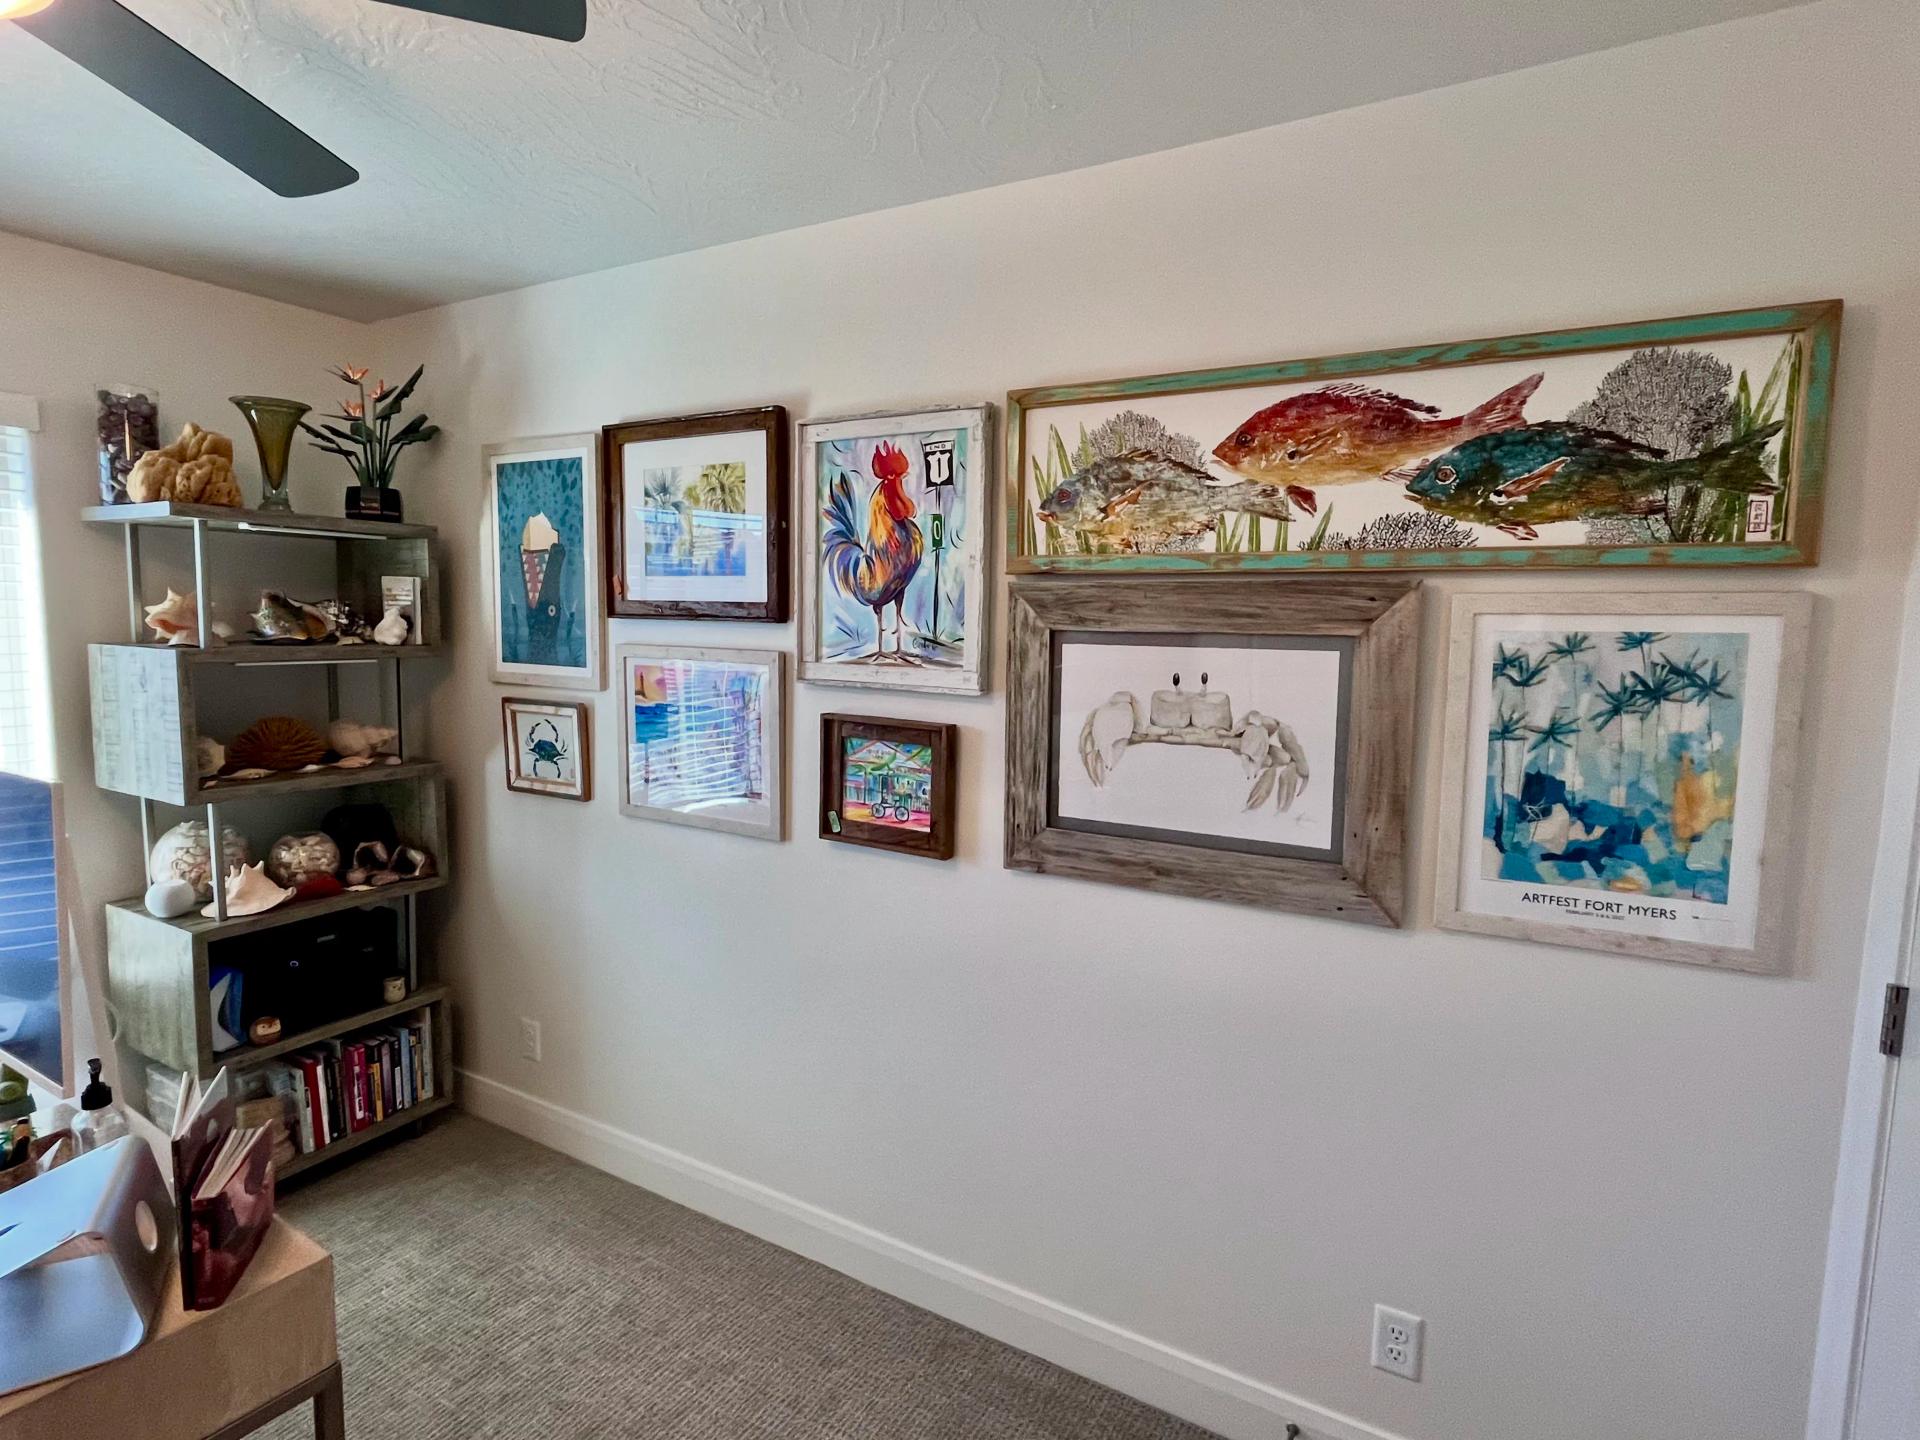
We handled a full range of work here. A large coastal-themed gallery wall with 9+ pieces in varying frame styles - from chunky driftwood to whitewashed wood - all hung level and proportioned. A three-panel metal sea turtle art piece mounted cleanly in the recessed space above a murphy bed, centered perfectly between the built-in shelving on each side. Two walnut display shelves installed staggered on a stairwell wall, now holding a full collection of stone spheres on individual stands. And several standalone pieces hung throughout the home, including a large framed canyon photograph hung plumb with a level right on-site.

The floor layout method isn't just about aesthetics. It's about efficiency. Fewer holes, less patchwork, and a result that looks like it was planned - because it was. When you've got a lot of pieces going up, that planning step pays off every single time.

Whether it's one piece or a full home's worth of art and décor, we bring the same approach to every job. Measure twice, lay it out first, and hang it right the first time.

Related Services

  • Shelving Installation
  • Picture Hanging
  • Décor Mounting

Footer

My Extra Hands, St. George Handyman Services

Company

  • Contact
  • About Us
  • Client Testimonials
  • Blog
  • Project Showcase
  • Sitemap

Services

  • Door Adjustments
  • Smoke & CO Detectors
  • Light Bulb Replacement
  • Toilet Flapper Replacement
  • Toilet Repairs
  • Caulking
  • Cabinet Tightening
  • Drywall Patching
  • TV Mounting
  • Mirror Hanging
  • Pet Door Installation
  • Shower Head Installation
  • Light Bulb Installation
  • Door Hardware
  • Microwave Installation
  • General Repairs
  • Dryer Vent Cleaning
  • Furniture Assembly
  • Garbage Disposal Install
  • Shelving Installation
  • Wall Racks
  • Picture Hanging
  • Décor Mounting
  • Smoke & CO Detector Install

Areas Served

  • Sunriver Parkway, UT
  • Santa Clara, UT
  • St. George, UT
  • Dammeron Valley, UT
  • Bloomington Hills, UT
  • Washington, UT
  • Ivins, UT

© 2026 My Extra Hands, St. George Handyman Services. All rights reserved.